Projecting
Step-by-Step
Using a classroom projector is a relatively basic operation, and the process can differ from room to room depending on the devices available, but the steps needed to accomplish this are the same for every room.

Projecting in Basic Rooms
A Familiar Controller
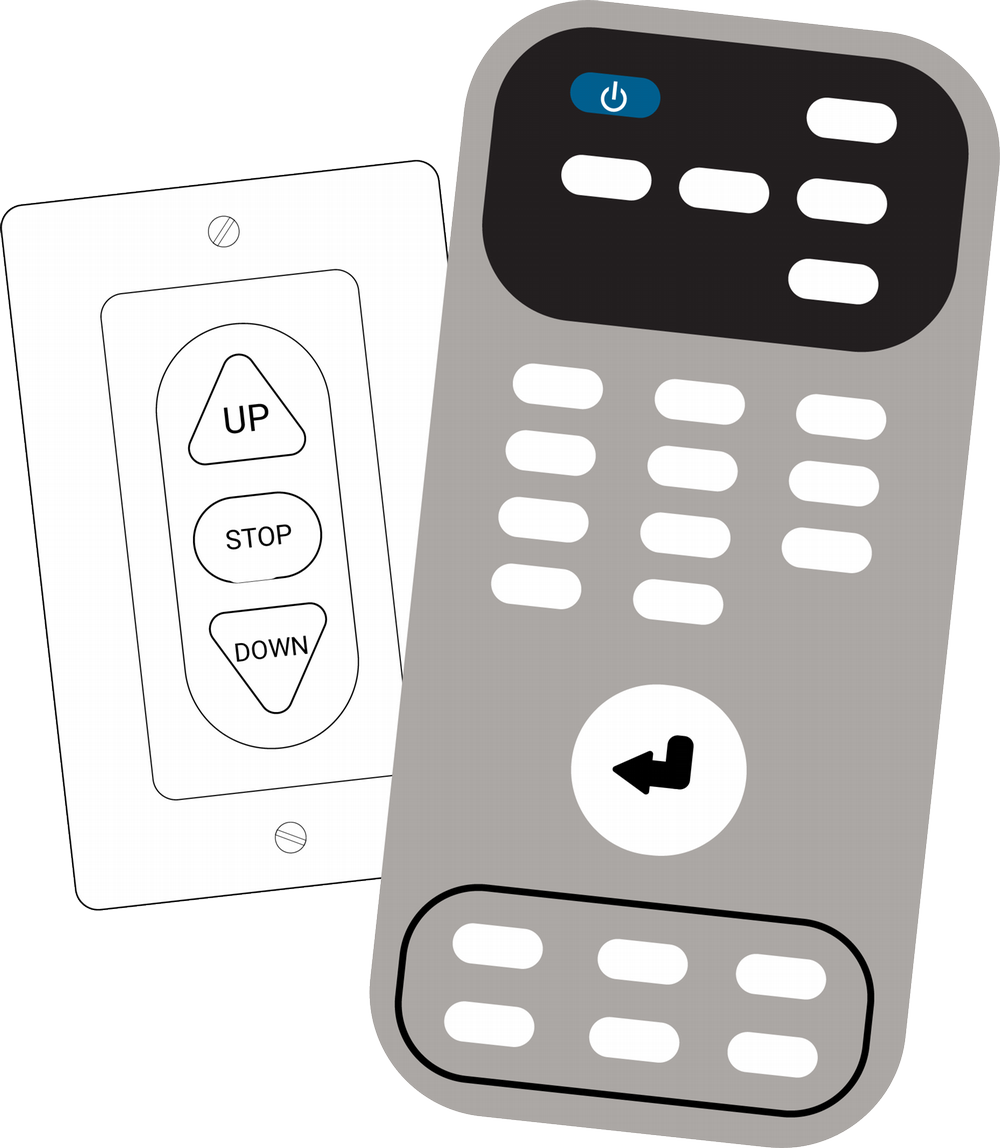
Basic Classrooms will have remote controls that you can use to turn on the projector and change the inputs.
The projector screen for rooms with these controllers can be brought up or down with the wall panel found beside the whiteboard.
Projecting in Rooms with Button Panels
An Integrated Solution
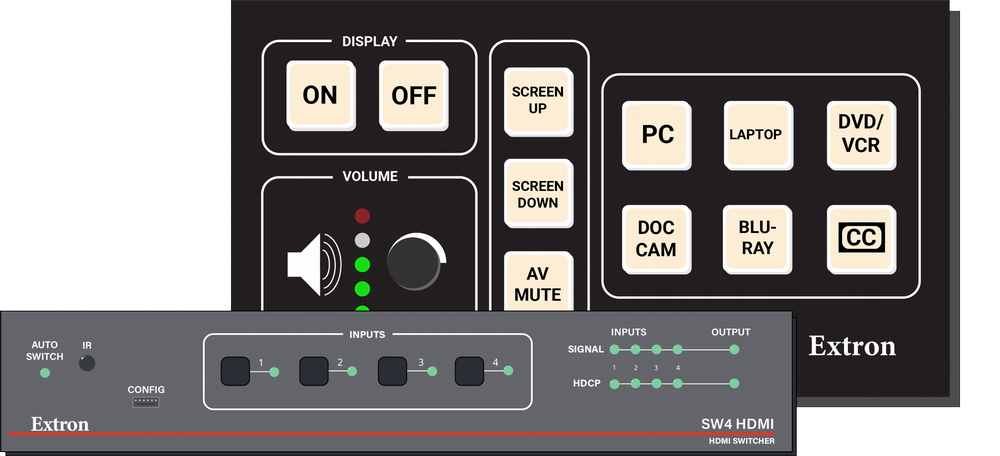
Two types of button panels can be found in either Basic or Standard classrooms:
- Basic button panels are used only for switching inputs to a projector in lieu of a remote when one is available.
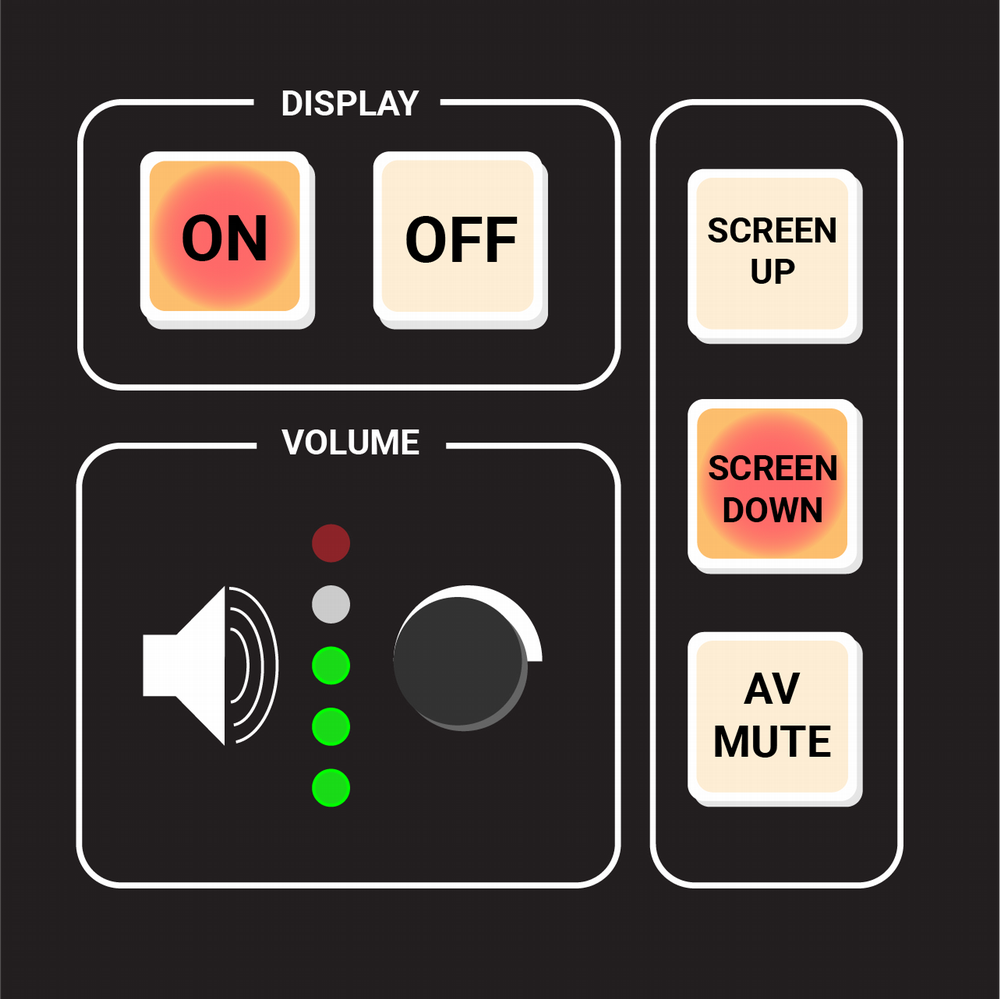
- Standard button panels will have controls for the projector screen, projector, volume, and input selections.
Projecting in Rooms with Touch Panels
Bringing Automation into the Classroom
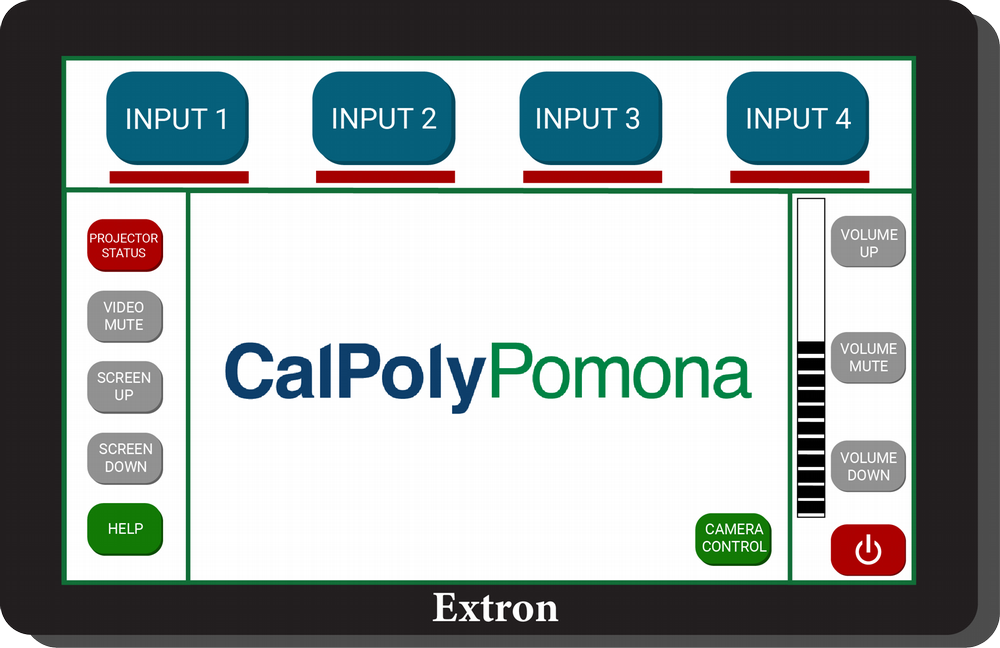
Touch panels can be found in more advanced Standard rooms and their HyFlex counterparts.
- Locate the touch panel on the lectern and tap it if the screen is blank.
- Follow the on-screen instructions to start the system; this will both turn on the projector and bring down the projector screen automatically.
- After waiting a moment for the projector to warm up, you can:
- Select the input source from across the top
- Adjust the volume from the right
- Adjust other options using the variable function buttons on the left or center of the screen.
- These variable buttons will differ based on room functionality.
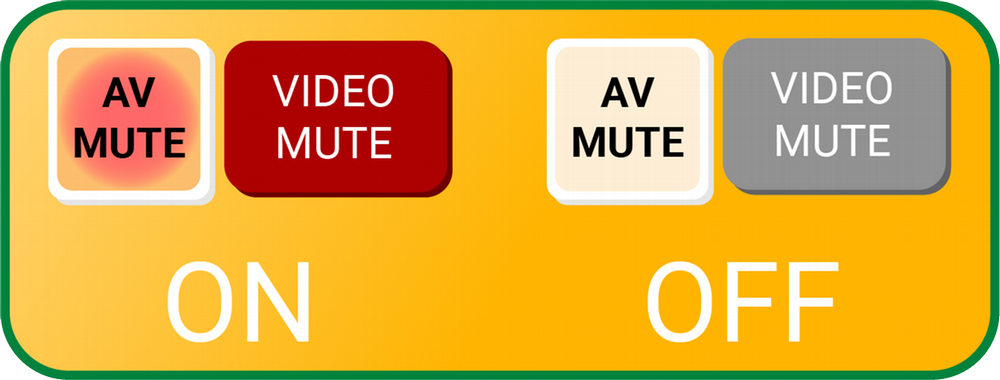
- Some touch panels will have options for camera presets and individual microphone volume adjustments, while others may only have projector video mute.
Troubleshooting Help
- Make sure the system is ON
- Press the appropriate button on a button panel, or tap the touch panel and follow the prompts
- Make sure that you have selected the appropriate input device
- Visit the Laptop Connections Web Guide for more information on the different types available for laptops
- Make sure Video Mute is not enabled
- If you are suing an external laptop connection, make sure the cable is fully seated and that the adapter is not frayed or broken.
- Sometimes the computer is set to only display on a single monitor
- Click Windows + P on the computers keyboard
- Select either Duplicate or Extend from the pop-up list
Windows
- Use the Windows Key + P shortcut
- Select either Duplicate or Extend to quickly switch how the display is handled.
- Extend will allow you to arrange your monitors in the settings window.
- Duplicate will mirror the main display over to the projector so they show the same picture.
- Check your computer's arrangement settings
- Go to Settings > Display
- Identify your monitors
- Arrange them how they are set up in real life.
- As these instructions are subject to change, please visit Microsoft's Guide on Setting Up Multiple Monitors
Mac
- Go to Apple logo > System settings > Display settings
- Select either Extend or Mirror from the drop-down list.
- Extend will allow you to arrange your monitors in the settings window.
- Mirror will mirror the main display over to the projector so they show the same picture.
- Check your computer's display arrangement
- Go to Apple logo > System settings > Display settings
- Select "Arrangement"
- Arrange them how they are set up in real life
- As these instructions are subject to chance, please visit Apple's Guide on Display Settings in Mac