Adding Content
Adding Content
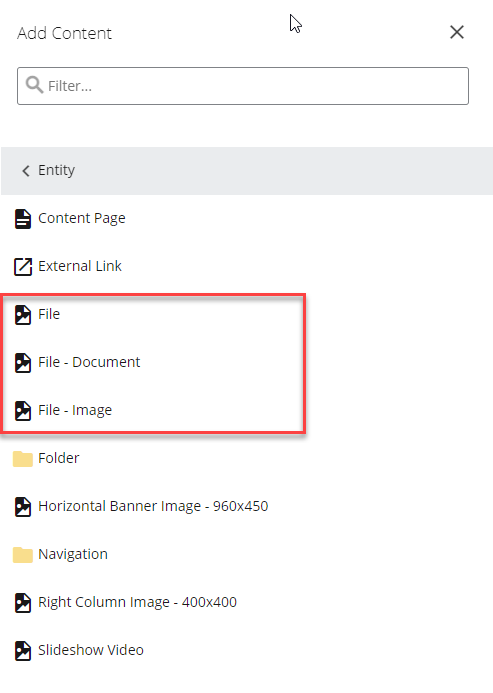
To start creating content for your website, go to the top left corner next to the site menu, and click on the Add Content button. Next, click on the Entity folder button and choose what you would like to use on the website.
Publishing created content has two workflows depending on the project. Below is a link to learn about these processes.
The Content
Learn about the different options to add content onto your Cascade page.
Folders Information
Learn about the Folder content and essential tips.
Step 1: Complete the Required Asterisks
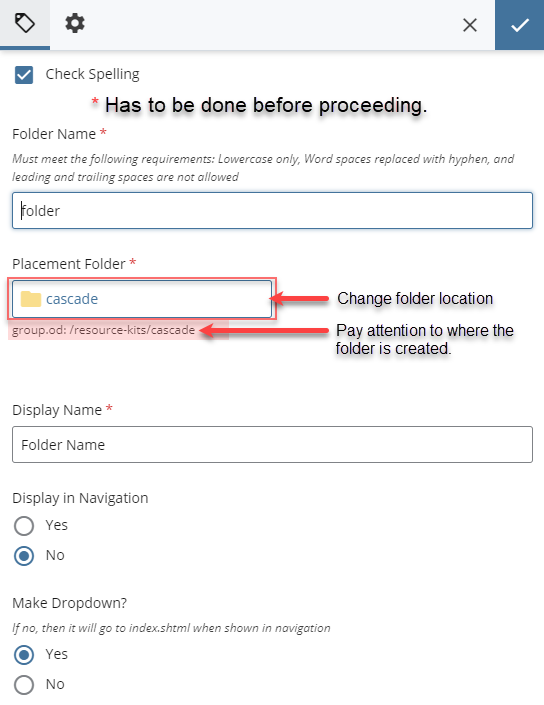
When creating this folder, make sure to fill in all the red asterisks, or else Cascade will prevent you from adding this folder until it is completed.
- Folder Name*
- Placement Folder*
- Display Name*
Folder Name*
Must all be lowercase. If not, Cascade will give you an error and a blue hyperlink for the fix. Click on this blue hyperlink to automatically lowercase folder name. Lastly, make sure to name the folder correctly as there is no way to rename it unless you request IT support.
Placement Folder*
Make sure to create the folder in the correct location as there is no way to move the folder after its creation unless you send an IT request. Right below this button is the folder location. Use this to know where the folder is located within the folder structure.
Display Name*
It is the name of the dropdown menu that users can find when using the website's navigation bar.
- Display in Navigation: Check yes if you wish for this folder to be seen on the navigation bar. Otherwise, leave it at no.
- Make Dropdown: Checking yes will create the described effect. Otherwise, it will become a button, and users will be redirected to the index.html (home page) of that folder.
Step 2: Submit Changes
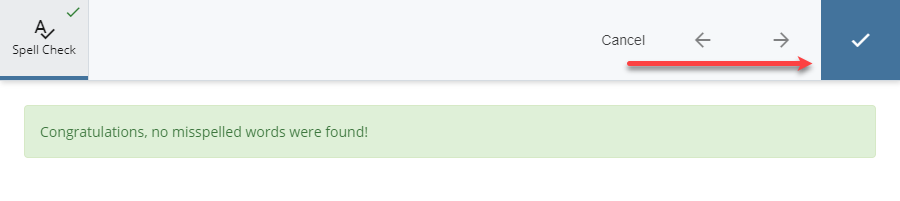
Lastly, you want to click on the blue button called "Submit," located on the top right corner of this popup. After clicking on the button, a new option will appear. Click on the checkmark icon to finish creating this folder.
Step 2A

Step 2B
Content Page Information
Learn about creating a content page and essential tips.
Step 1: Complete the Required Asterisks

When creating a content page, make sure you have everything marked by the red asterisk before submitting "Preview Draft".
Editable and Changeable - All content pages can be renamed, moved, copied, and deleted. In some instances, that isn't the case. Please talk with your IT about either getting you access to this feature or have them assist you.
Page Name*
Similar to creating a folder, the file name has to be all lowercase. If you make a mistake, there will be a blue link that, when clicked, automatically lowercases the name.
Placement Folder*
Make sure you place it in the correct folder so that you won't have to create extra steps.
Title*
Note that this is different from the Heading. Changing this will affect the display name link for both the website Tab and Navigation Bar link.
Step 2: Publish Website
Once you have finished creating your page, make sure to publish it either as a test or production. To learn more about the next step, click on the link below.
Uploading Guide
Learn about uploading images and documents.
There are different file types that can be uploaded via Cascade.
Please refer to the following description for each file type.
File
You can upload any file type that is less than 35 MB. Examples of this file type are slideshow video files (MP4s and MP3s).
File-Document
This accepts documents with the following extensions: docx, pdf, rtf, doc, xls, xlsx, ppt, pptx, txt, and odt.
The file size is less than 30 MB.
File-Image
This accepts images with the following extensions: jpg, png, gif, bmp, tiff, and jpeg.
The file size is less than 500 KB.
Step 1: Complete the Required Asterisks
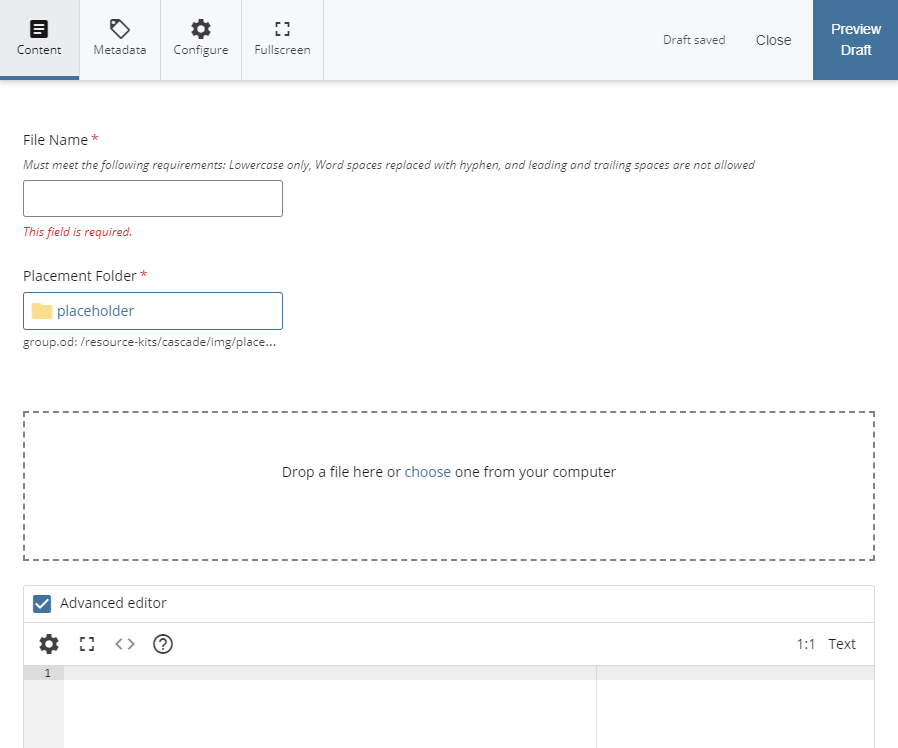
The first way to upload a file is by clicking on the dashed box's hyperlink called "choose." A pop-up window of your documents will show up. Select the file to upload.
The second way is to drag and drop the file onto the dashed box. Files you can upload include images, documents, PowerPoint files, and PDFs.
File Name*
Similar to creating a folder, the file name has to be all lowercase. If you make a mistake, there will be a blue link that will change it to lowercase.
Placement Folder*
Make sure you place it in the correct folder so that you won't have to create extra steps.
Step 2: Publish Website
Once you have finished uploading your file, make sure to publish it either as a test or production. To learn more about the next step, click on the link below.
Navigation Bars Guide
Learn about adding navigation bars to pages.
Navigation bars help organize pages, folders, images, and other content to display in the preferred order.
Step 1: Open in Folder View
In the left panel under "SITE CONTENT," find the folder you would like to view. Hover your mouse over the folder, and an arrow will appear on the right side labeled "View folder."
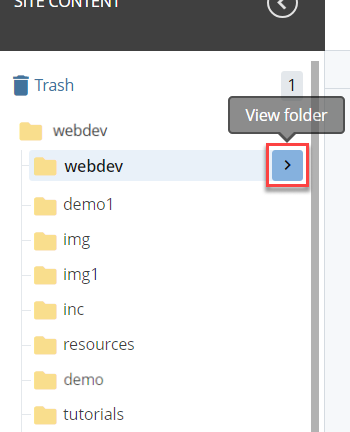
Click on the "View Folder" arrow. The selected folder will open in folder view, showcasing any subfolders, content pages, and images stored inside.
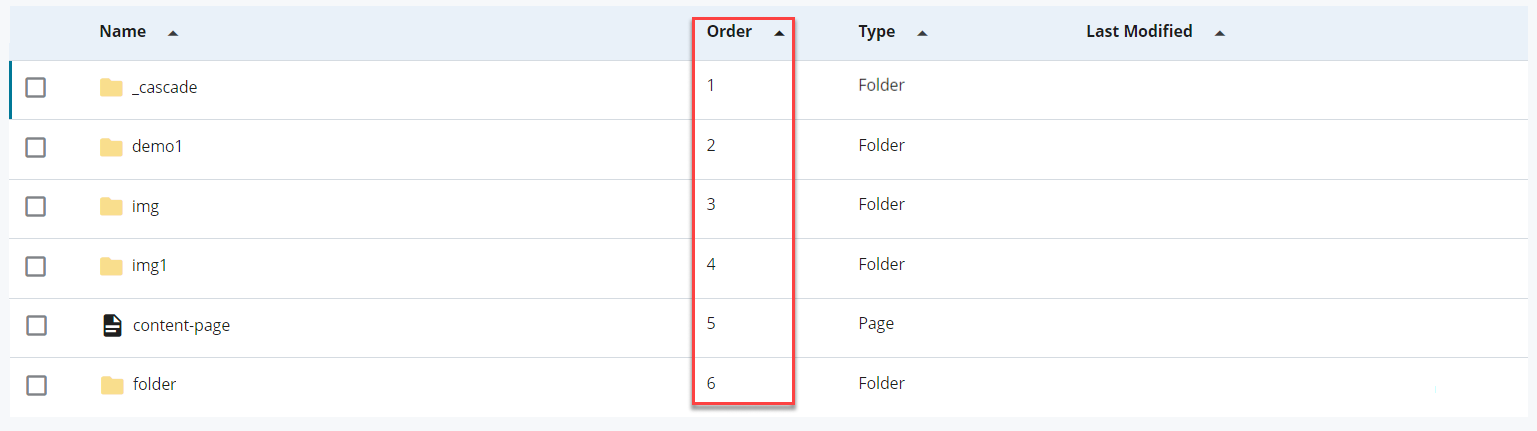
Step 2: Ordering Pages
In the header, select "Order" to organize the pages in numerical order starting with 1 to however many pages you have.

The example below shows the pages and folders ordered from 1 to 6:
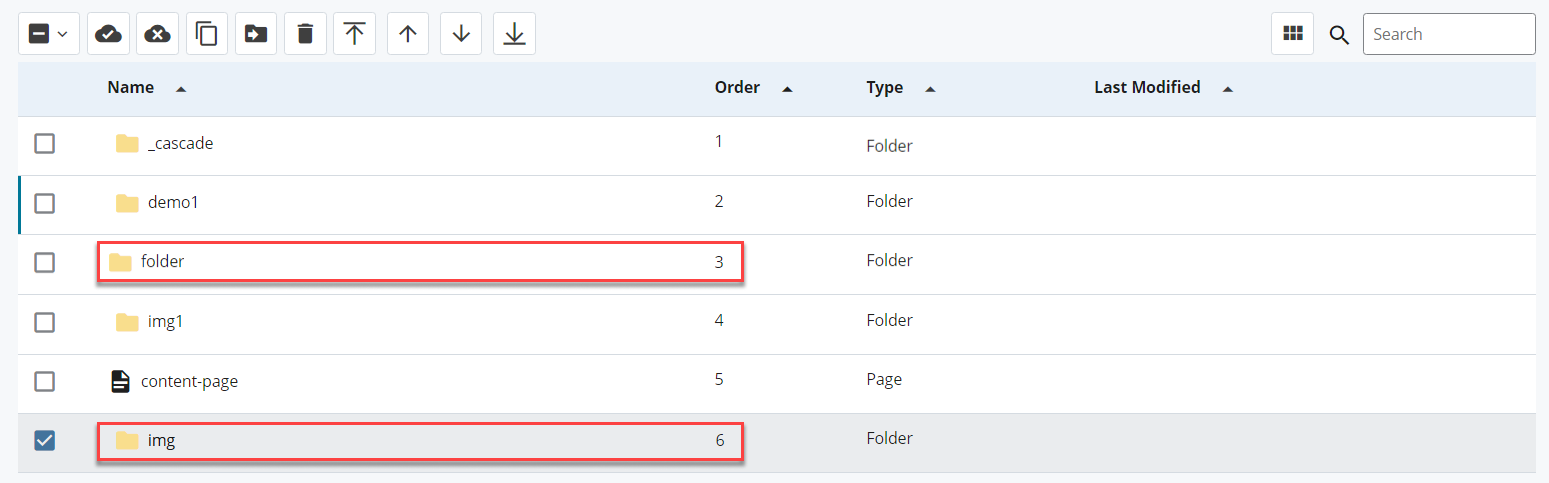
There are two other ways to organize pages in folder view: manually dragging the folders and moving them up and down with the check-box. This can only be done after you click on "Order" in the header.
1. Manually Drag Method
After selecting "Order," you can click on the folder or content name and manually drag it to the preferred location. The example below shows the "img" folder moved down to order number 6, and the "folder" folder is now order number 3.
2. Check-Box Method
On the left side of the content page, check off which page you would like to adjust the order location.
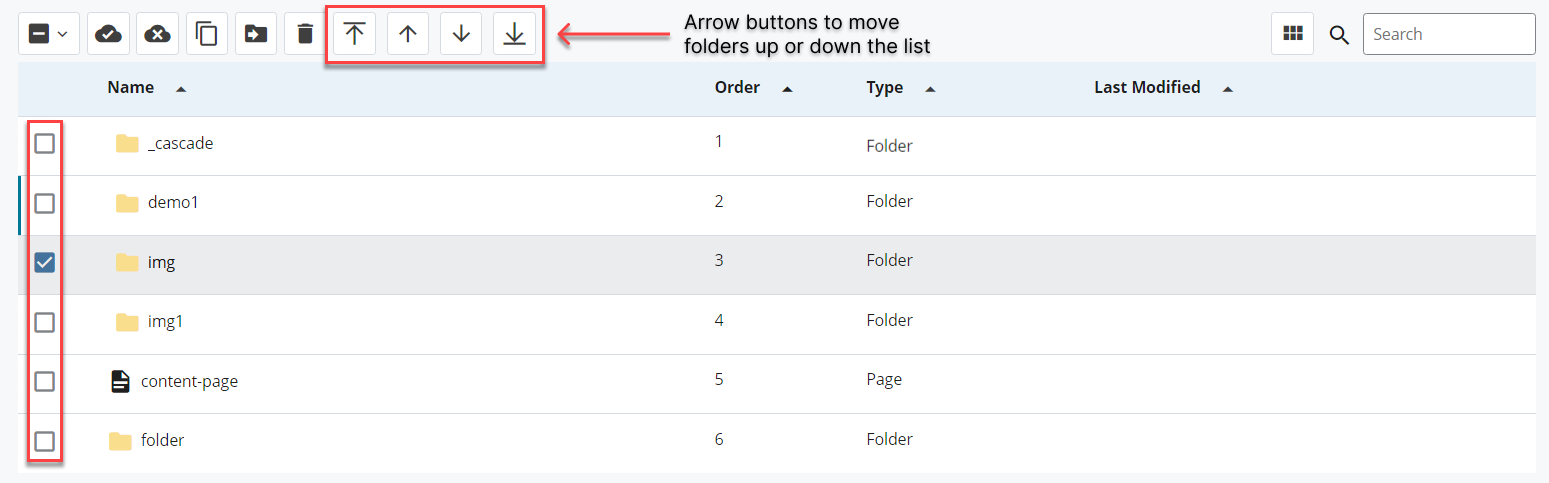
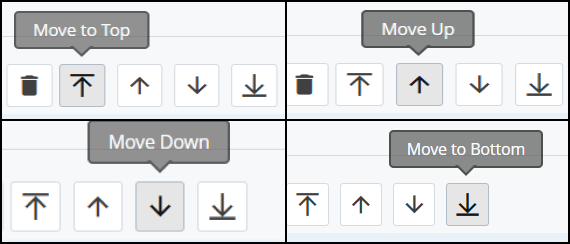
When a content page or folder is selected, four different arrows will appear in the header. These arrows allow you to adjust the position of the page or folder within the list:
Step 3: Publishing
After rearranging the content pages to the preferred order, you need to publish the folder (located in the top right with a gray cloud icon) so your changes save.
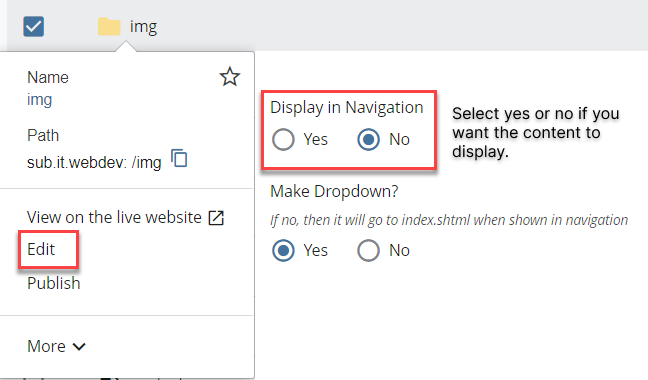
To make sure the correct content can be viewed, right-click on the content > Edit > scroll down to "Display in Navigation" and check off Yes or No.