Site Navigation (Menu)
The site navigation allows users to easily navigate website.
Example of Left Navigation:

Example of Horizontal Navigation:

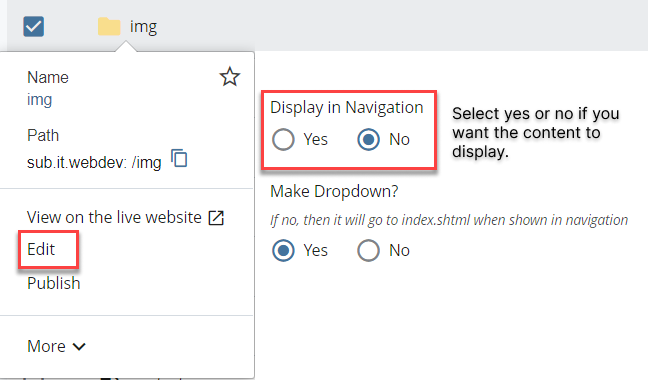
The navigation block is automatically created in Cascade. When users want to add items to the navigation, they must set the Display in Navigation button to ‘Yes’ in the Edit mode of Content Page or Folder.
Any changes made to the navigation include file requires republishing it. Refer to the "Publishing to Navigation/submit to workflow" instruction in the section below.
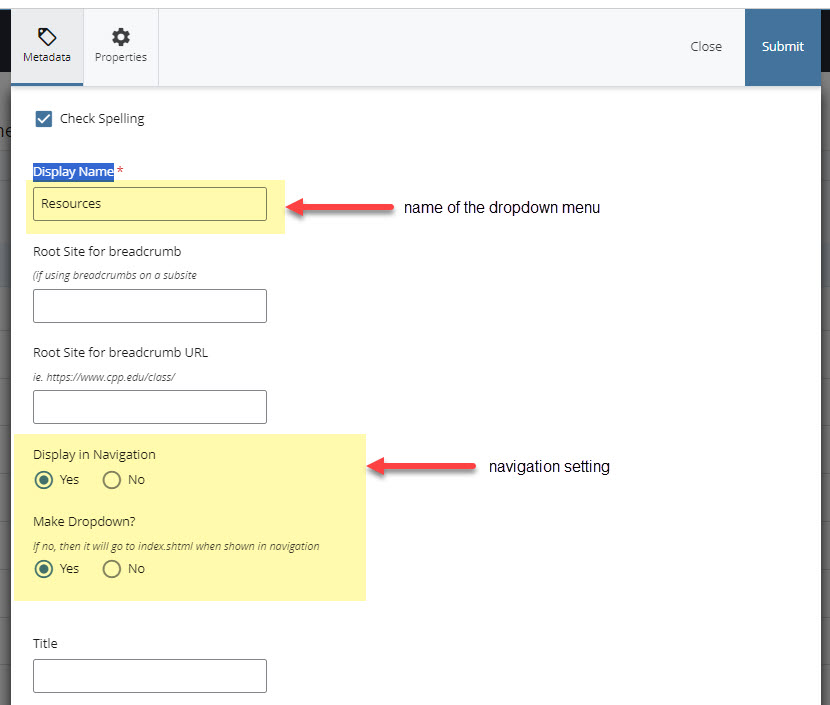
Cascade folder/page name is different from the Display name, Cascade Folder/page name represents the name in the URL.
Display name is what's shown on the navigation on the browser.
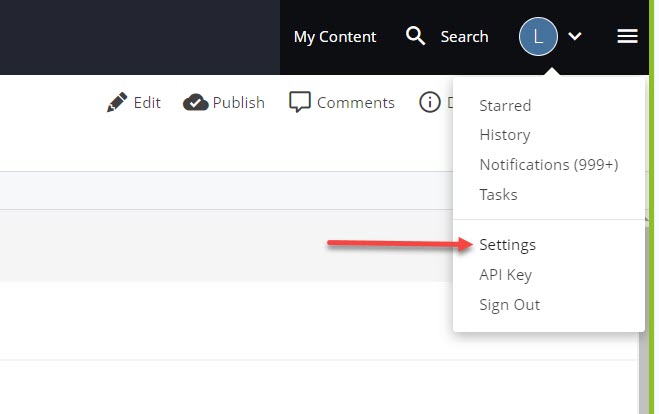
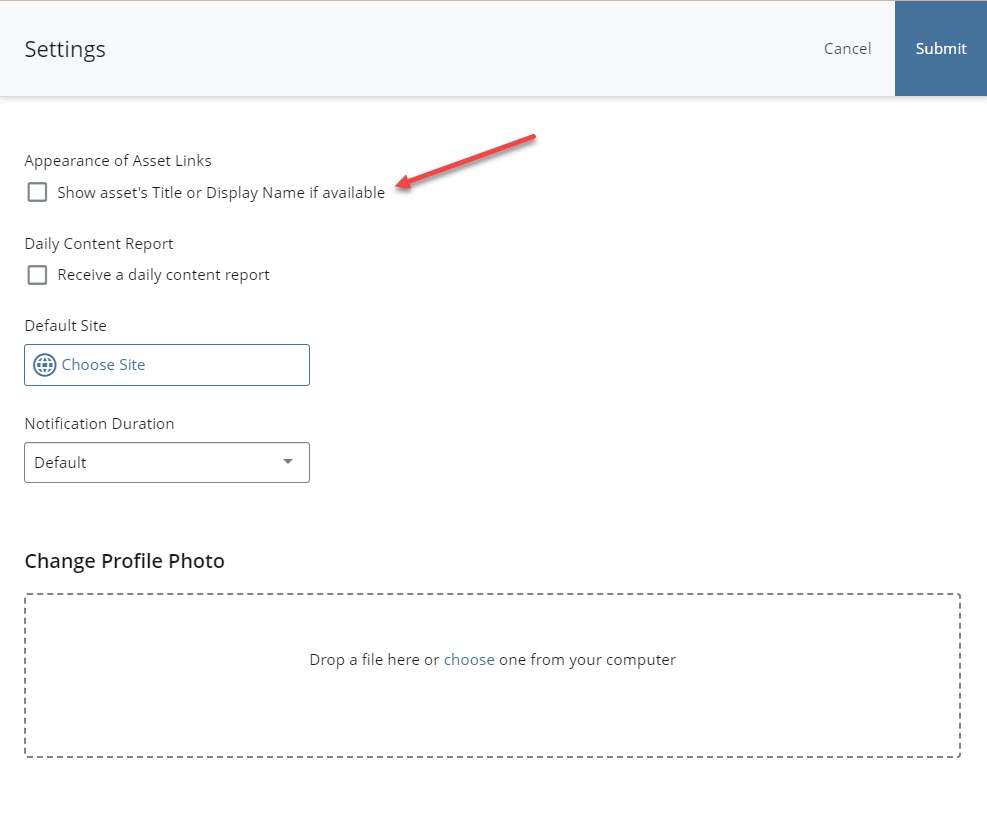
If you like to display the "Display Name" in Cascade site content section please follow these steps otherwise you may pass this section:
There are two types of Navigation in Cascade:
- Left Navigation: This is the default Navigation setup for all sites.
- Horizontal Navigation: If you wish to apply this type of navigation you must set it up at the beginning. If you have a left navigation and you wish to switch to Horizontal Navigation please submit a request to the IT Web Team.
To create a dropdown menu, follow these steps:
-
Create a Container Folder: Begin by creating a container folder for the menu items. Make sure the folder name matches the text you want to display in the dropdown. For step-by-step guidance on creating a new folder, visit the Create Folder page.
-
Sublevel Menu Support: Keep in mind that Cascade supports up to one sublevel menus.
-
Enable Dropdown: In the folder's Edit form, enable the Make Dropdown option by setting it to Yes.
-
Include Content Pages: Ensure that the Display in Navigation option is selected for all content pages within the folder. This will include them in the dropdown menu.
If you want to reorder the submenu items, please refer to the "Navigation Ordering" section
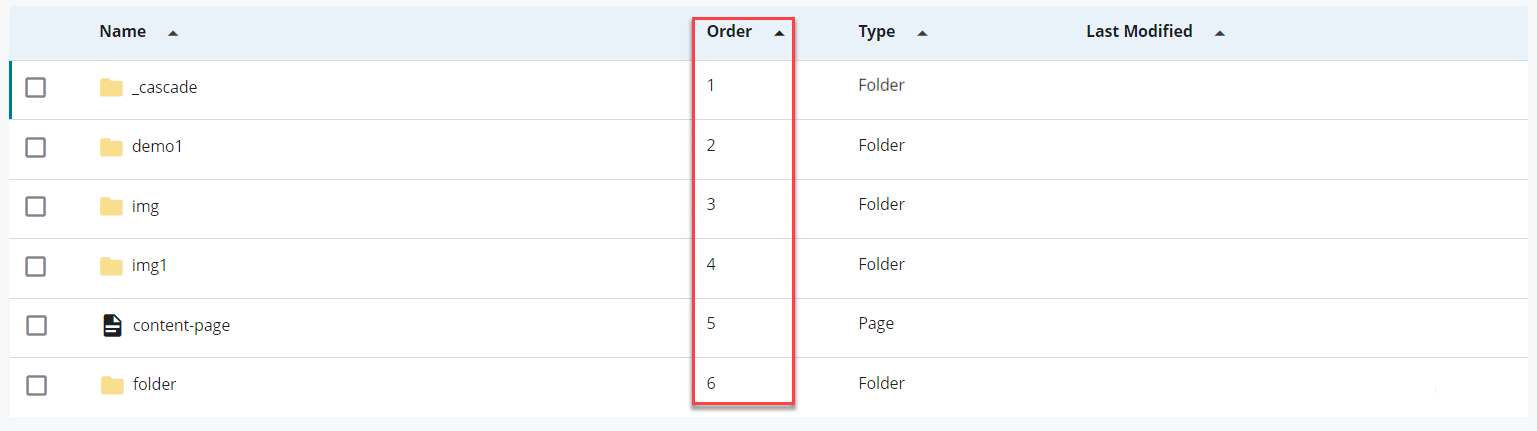
In the header, select 'Order' to organize the pages in numerical order starting with 1 to how many pages you have.

The example below shows the pages and folders ordered from 1 to 6:
There are two other ways to organize pages in folder view: manually dragging the folders, and moving it up and down with the check-box. This can only be done after you click on 'Order' in the header.
1. Manually Drag Method 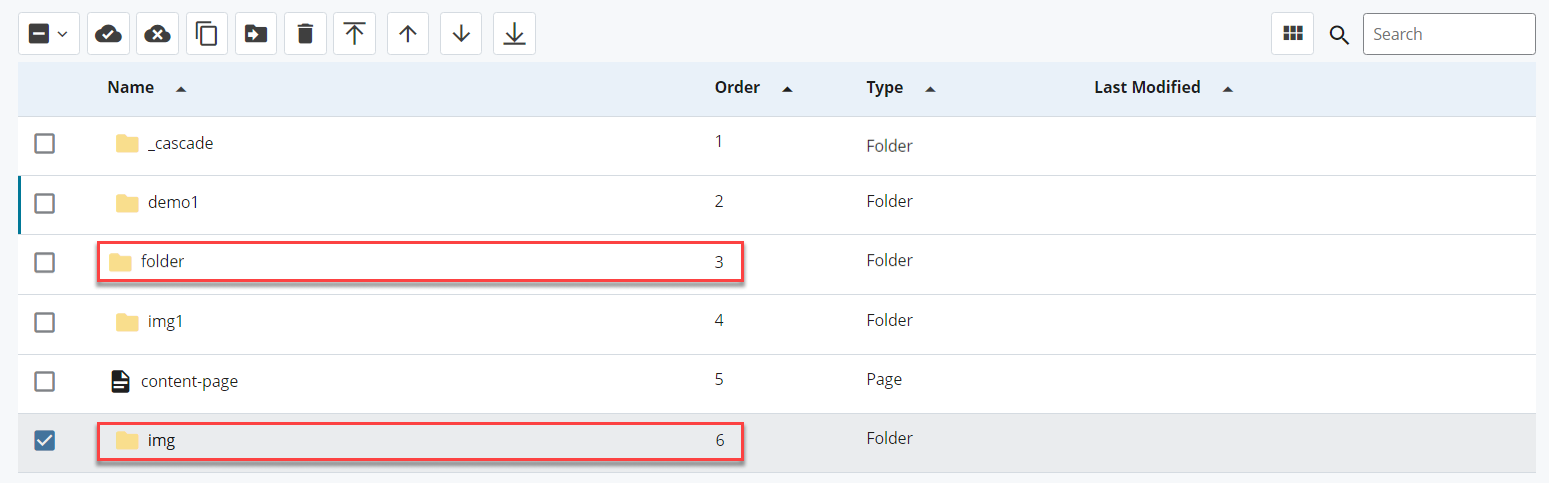
2. Check-Box Method
On the left side of the content page, check off which page you would like to adjust the order location.
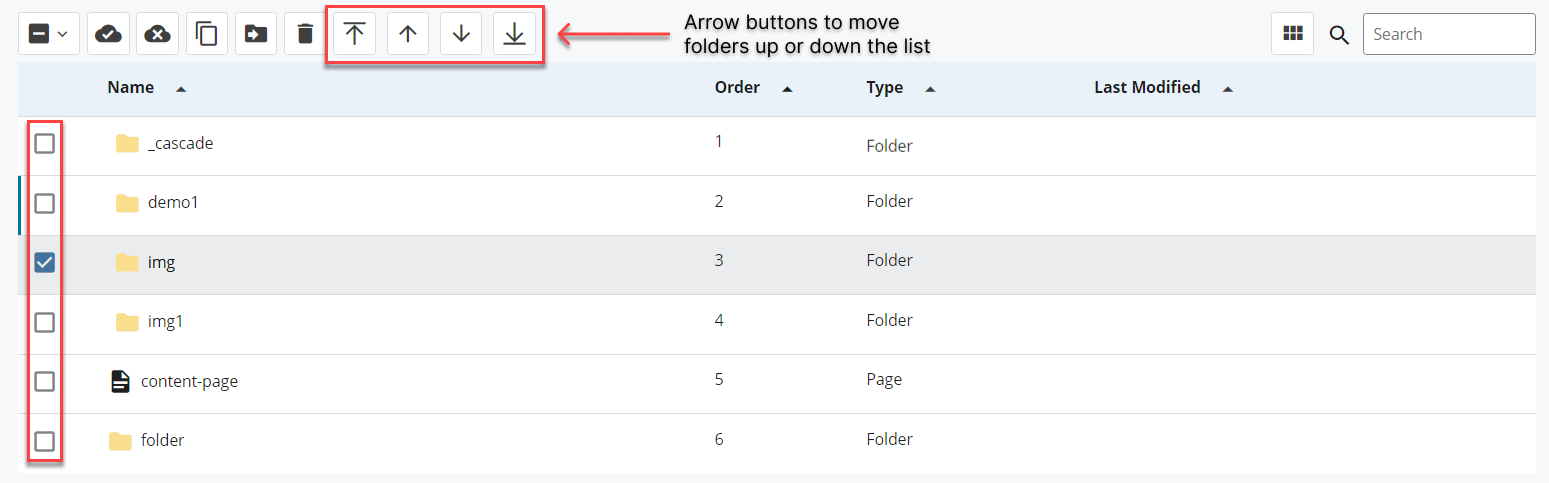
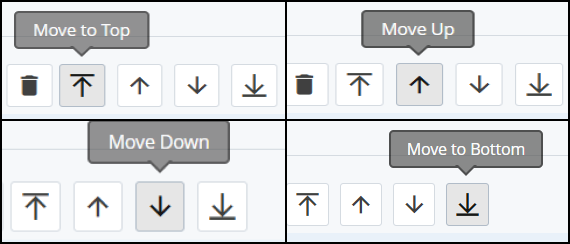
When a content page or folder is selected, four different arrows will appear in the header. These arrows allow you to adjust the position of the page or folder within the list:
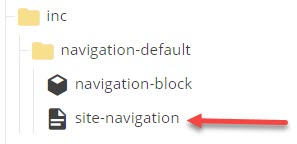
After rearranging the content pages to the preffered order, you need to publish the site-navigation file in the inc folder so your changes are saved and live.
For step-by-step instructions on how to publish a file please visit the Submit Content Page.